
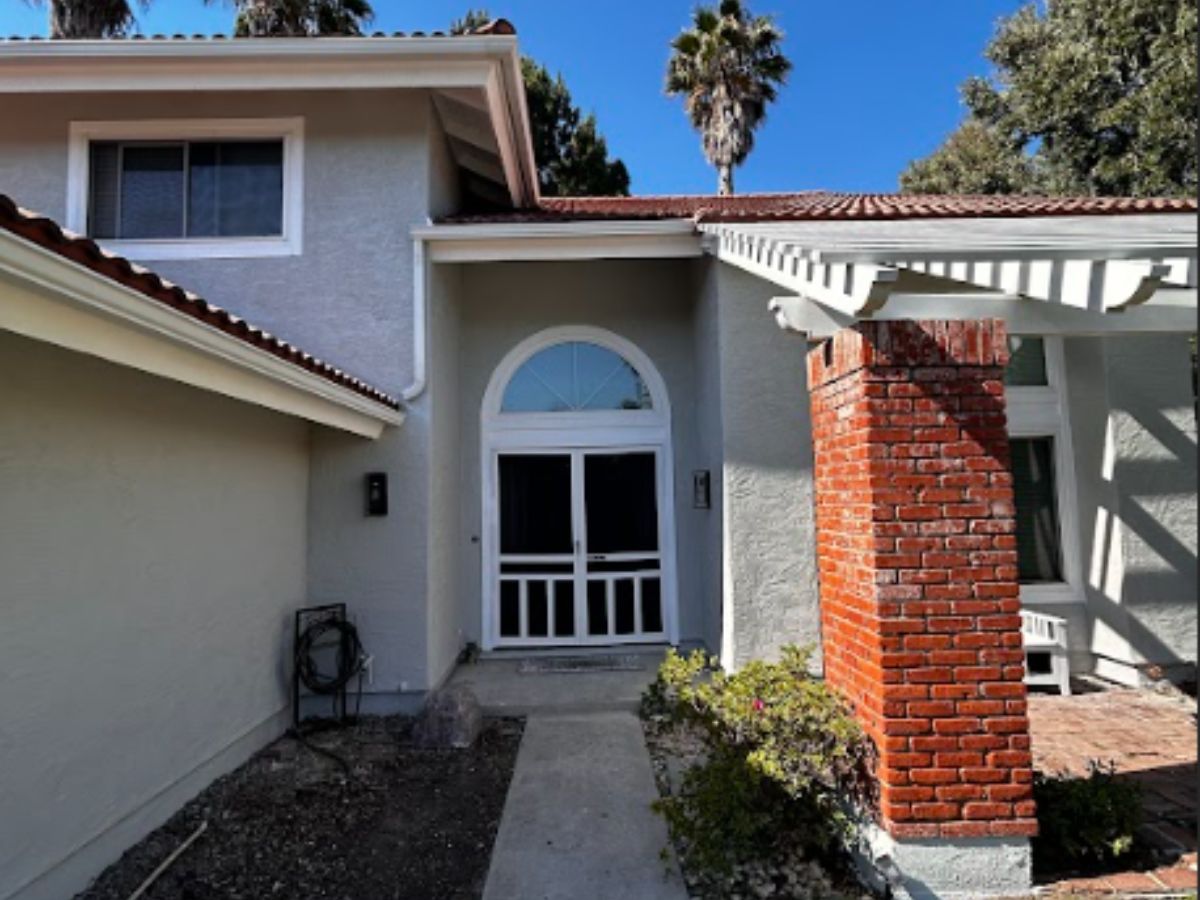
Transforming outdoor spaces into functional and aesthetically pleasing areas often involves the use of turf and pavers. These materials not only enhance the visual appeal but also provide practical benefits, such as low maintenance and durability. Understanding the installation process is crucial for achieving a seamless and long-lasting result.
This guide will delve into the essential steps, from preparing the ground to laying the materials correctly. With the right approach, you can achieve a professional finish that adds value and enjoyment to your outdoor environment.
Selecting the ideal turf and pavers is crucial for achieving the desired look and functionality of your outdoor space. When it comes to turf, consider factors such as climate, sunlight, and foot traffic. For instance, synthetic turf might be better for high-traffic areas or regions with extreme weather, while natural grass offers a lush, green appearance but requires more maintenance.
Pavers come in various materials, including concrete, stone, and brick, each with unique benefits. Concrete pavers are durable and cost-effective, while natural stone provides a sophisticated aesthetic. It’s essential to match the style of pavers with the overall design of your outdoor area and consider how well they’ll blend with the surrounding elements.
Proper ground preparation is the foundation for a successful installation of turf and pavers. Begin by clearing the area of any existing vegetation, rocks, and debris. This ensures a clean surface and prevents any issues with the new installation. Next, check the soil quality; it should be well-drained and free from any excess moisture or compaction. In cases where the soil is too loose or sandy, adding a layer of topsoil can improve stability. It’s also essential to establish the correct level for your project, considering any planned drainage or slope requirements. Properly preparing the ground will create a stable base for your turf and pavers, leading to a more durable and aesthetically pleasing finish.
When installing turf and pavers, having the right tools and materials is essential for a smooth and effective process. Here’s a quick rundown of what you’ll need:
Investing in the right tools and materials makes the installation of turf and pavers more efficient and effective.
Accurate measurement and marking are key steps in the installation of turf and pavers. Start by using a measuring tape to determine the exact dimensions of the area where the turf and pavers will be laid. Mark the boundaries clearly with stakes and string or spray paint.
This not only helps in visualizing the layout but also ensures that the installation stays within the desired area. For larger spaces, consider using a laser level to ensure that all marks are level and precise. Proper measurement and marking help in achieving a balanced and symmetrical look, avoiding any misalignment or uneven surfaces in the final project.
Before laying down new turf and pavers, it’s important to remove any existing grass, weeds, and debris from the area. Start by using a sod cutter or shovel to lift and remove the grass, ensuring you also take out the root systems to prevent regrowth. Next, clear any stones, sticks, or other debris that might interfere with the installation.
This step is crucial for creating a clean, even surface for your new turf and pavers. If the area has been heavily overgrown, you might need to use a garden fork or hoe to loosen and remove any remaining roots or compacted soil. A clean surface helps in achieving a smooth and professional installation.
Ensuring proper drainage is crucial for maintaining the integrity of your turf and pavers. Effective drainage prevents water accumulation that could lead to damage or instability. Implement these solutions for optimal results:
Implementing these strategies will protect your turf and pavers from water-related issues, ensuring a long-lasting and visually appealing outdoor space.
Once the ground is prepared, compacting and leveling the soil is essential for a stable base for your turf and pavers. Use a plate compactor to compress the soil and create a solid foundation. This step helps in preventing future settling or shifting of the pavers.
After compacting, check the level of the soil using a long, straight board or level, and make adjustments as needed to ensure a flat, even surface. If any low spots are detected, fill them with additional soil and recompact. Proper compaction and leveling contribute to a smooth and professional finish, ensuring that your turf and pavers remain stable and visually appealing.
Laying the base layers is a fundamental step in the installation of turf and pavers. Start by spreading a layer of gravel or crushed stone across the prepared area, which serves as a drainage layer and provides stability. Ensure this layer is evenly distributed and compact it thoroughly using a plate compactor. Next, add a layer of sand or a similar material to create a smooth, level surface for the pavers.
Use a screed board to level the sand and ensure an even thickness. Properly laying and leveling the base layers is crucial for the stability and longevity of the pavers and for achieving a seamless transition between the turf and paved areas.
To ensure the longevity and stability of turf and pavers, proper securing is essential. For pavers, place each one carefully and use a rubber mallet to tap them into place, ensuring they’re level with the surrounding pavers. Fill the gaps between pavers with joint sand and sweep it into the cracks to lock the pavers securely.
For turf, trim any excess and secure the edges with landscape staples or adhesive, depending on the type of turf and the surface it’s being installed on. Proper securing prevents shifting and ensures a smooth, well-maintained appearance over time. Regular checks and maintenance will help keep both the turf and pavers in optimal condition.
Adding the final touches and staying on top of maintenance are essential for keeping turf and pavers looking pristine. These steps ensure longevity and help maintain the visual appeal of your outdoor space.
Maintaining turf and pavers with these tips ensures they remain in top condition, enhancing the beauty and functionality of your outdoor area for years to come.
Mastering the installation process for turf and pavers ensures a beautifully transformed outdoor space that’s both functional and enduring. From selecting the right materials to preparing the ground and securing everything in place, each step plays a critical role in achieving a polished and long-lasting result. The effort put into careful planning and execution pays off with a stunning outdoor area that enhances the home’s overall appeal and functionality.
For expert guidance and professional installation, reach out to Tidal Remodeling. Their experienced team is ready to help bring your vision to life with precision and care. Contact Tidal Remodeling today at +1 (760) 990-7890 to start your project
When it comes to giving your home a fresh look, nothing makes as big of an impact as a quality paint job. At Tidal Remodeling, we understand that professional house painting isn’t just about color, it’s about craftsmanship, attention to detail, and creating an environment that reflects your style. With years of experience in the […]
Read More
When it comes to keeping your home looking its best, few improvements have as immediate and visible an impact as a fresh coat of paint. At Tidal Remodeling, we take pride in being a trusted residential painting contractor, helping homeowners in our community bring their vision to life while ensuring every project is handled with […]
Read More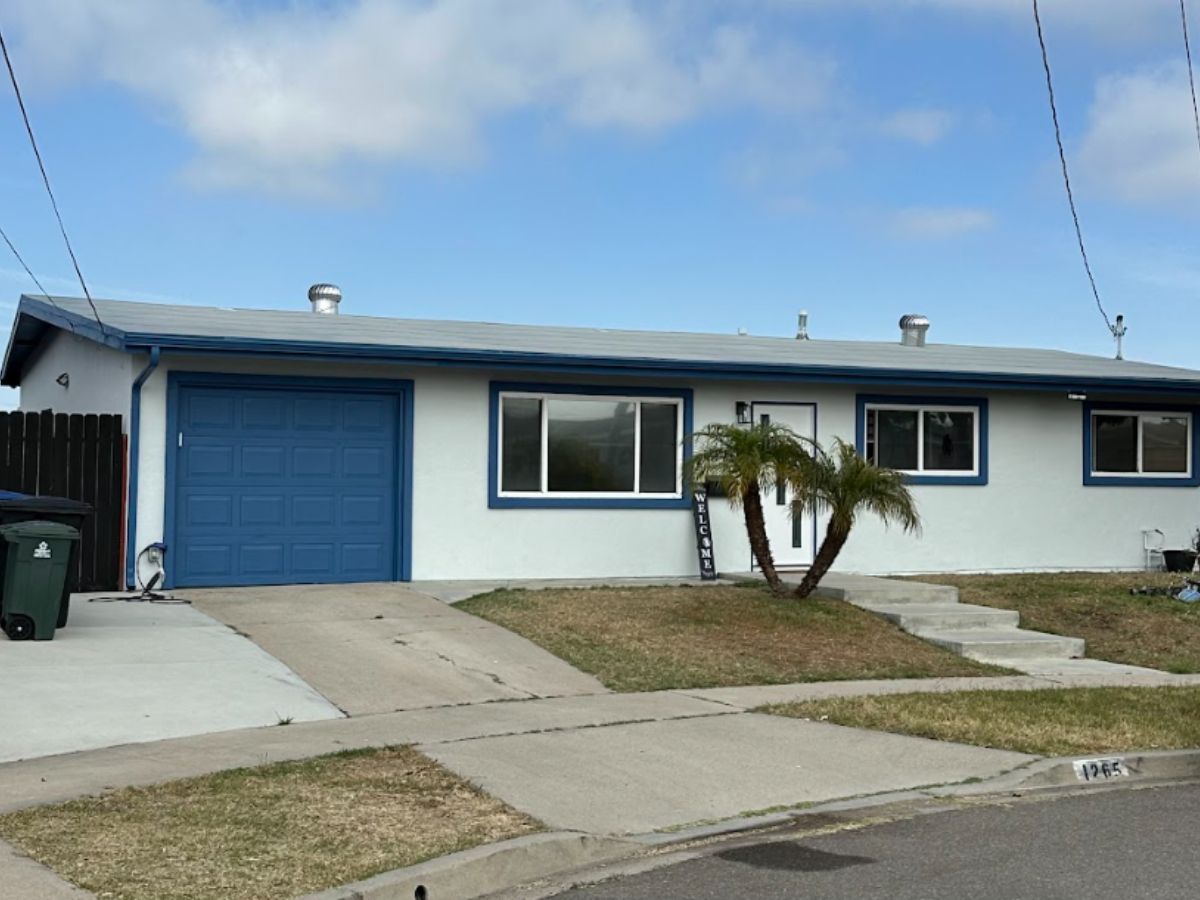
Finding a reliable painting team for your home is not just about color or price. It is about trust, experience, and knowing the work will be done correctly the first time. At Tidal Remodeling, we approach every painting project with the same mindset we bring to full home renovations, careful planning, honest communication, and craftsmanship […]
Read More